It's January in Chicago...I am getting a little stir crazy... and my creative juices are flowing...
I have been looking for a specific Art vibe for my dining room... and I haven't been able to find it...so I decided to make it myself...DIYA (do-it-yourself-Art)!
I painted this duo in a couple of afternoons...a mixed media attempt at modern Art. I began painting in my attic... I set up my easel and all my equipment trying to imagine that I was tucked away in a Parisian artist's flat overlooking the city...but alas..it didn't work...I couldn't get the right look for this space...

so I painted these canvases right on the wall in the space they would occupy...THAT process- as odd it seems...worked to get me to where I needed to go...

I looked a little bit like this when I was done...but the room fared much better...all kidding aside...I am a pretty neat painter...otherwise I would never have attempted this creative journey on the wall...
I loved how they turned out and my fab artist friend Jackie helped me do a DIY framing job (more on that in a bit)...

of course...for those of you who know me or this blog...
KNOW that once I start one thing...the ball keeps rolling...(pun intended as you look below)...I added a fun textile to the front bench in the room (I designed the bench to cover a built in heating unit- often found in old homes...we celebrate a 100 years for this house in 4 years)...then a silver tray and some books, etc. etc...you know the drill...
Before...
and
After...


This room has changed a lot through the years...here are a few...
BEFORE's....
and
AFTER...
Before... After....
The new chandy made me want to take the room in a new direction...I am still not done...I am looking for something fabulous for the table centerpiece....and I don't love these chairs anymore...but everything will evolve...that is part of the FUN!

Jackie came over to see the Art installed and as an artist herself she gave me a few helpful hints... once the paintings were framed and hung...the centerpiece (again temporary) below was too much for the room...as it is with most things in life...it is all about the editing!
Since I am updating other spaces in the house...this room is getting some other Art that needs to move...
I love this piece...I wish I had more wall space in this house to display her prominently...
I found this wonderful painting on one of my treasure hunts and now it hangs beautifully in my downstairs powder room...
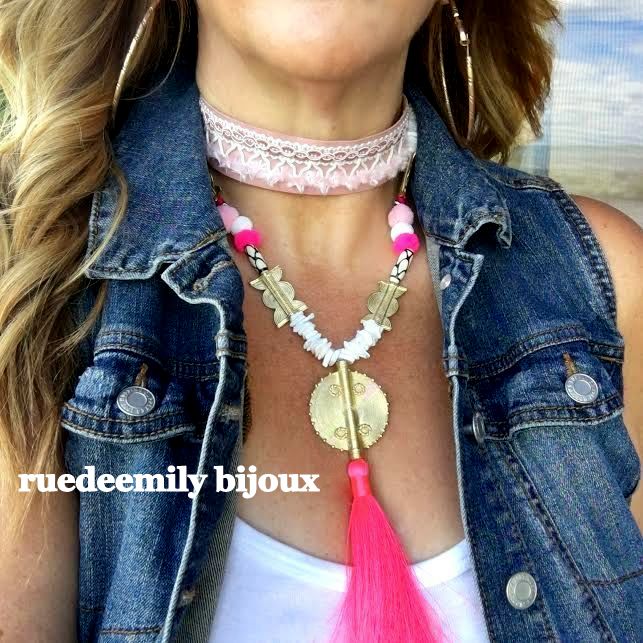
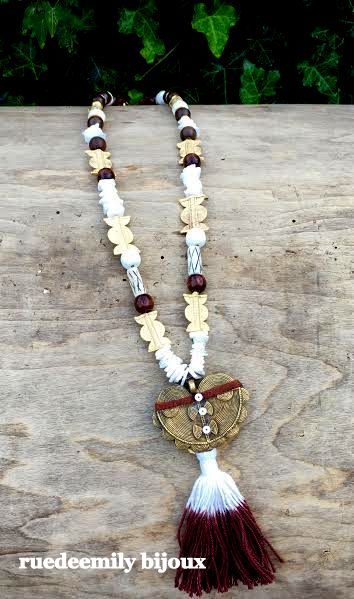
Most recently the dining room looked like this...I bought this African juju because it was just too perfect a pop of pink to pass up... however this wasn't the perfect spot...but I hung it here while I figured things out...sometimes design is like that...it is a process...I was looking for Art for the dining room that would take the space in the more modern direction I wanted it to go...so I could move this...
to a much better spot in my living room...
it saves me a ton of $$ in fresh flower expense as well...now I can keep the mantle clean...
A few other updates in the living room...I've added to my coffee table book collection through some purchases and gifts...I can never have enough coffee table books...forget shoes...I love BOOKS!
a few other design updates...I inherited that fabulous pink elephant tray from my friend Dawn...it feels very much at home in my living room...Merci' Miss D!!
P.S.
and now for those who are interested a little tutorial on how to do your own framing... here is a visual example of a canvas unframed...
A good resource is
http://www.pictureframes.com/
They provide quick delivery and reasonable pricing..but most importantly a vast selection of frames...
Both frames arrived packaged like this...with the bag of easy to use installation hardware...(see below)
You will need a power drill with a small bit to make this easy...my friend Jackie is providing the visual tutorial here...she has framed numerous pieces...and she kindly showed me how it is done!
First we laid the canvas in the frame to see how it would look and to position it exactly right...
She then flipped it over to begin the hardware installation in six places...
She pre-drilled holes for the screws for 6 brackets...she did all the pre-drills at once which was smart...
She then strung the wire across the back of the painting and twisted it as you can see below to secure it...
This is how it looks as it is ready to hang...six brackets...one on each side and then two across from each other to hold the wire...
Voila...simple...took us all of 15 minutes to do two- 30 X 40 canvases...
XO Emily